Unlock the Secret to a Flaky, Buttery Pie Crust: An Easy Recipe for Every Baker
There's something undeniably magical about a homemade pie. The aroma wafting from the oven, the anticipation of that first slice, and the sheer delight of a perfectly flaky, tender crust that melts in your mouth – it’s an experience that store-bought simply can't replicate. If the thought of making pie crust from scratch has ever intimidated you, prepare to have your baking world transformed. This comprehensive guide will demystify the art of creating an easy, flaky
pie crust recipe, ensuring perfect results whether you're a novice or a seasoned pro. Forget dense, chewy, or bland crusts; we're diving into the simple steps to achieve buttery perfection every single time.
Why Homemade Pie Crust Reigns Supreme
The difference between a homemade pie and its store-bought counterpart often comes down to one crucial element: the crust. While convenience has its place, a truly great pie begins with a crust crafted with care and quality ingredients. This particular
pie crust recipe prioritizes real butter, delivering an unparalleled richness and delicate texture that you just can't find in mass-produced options.
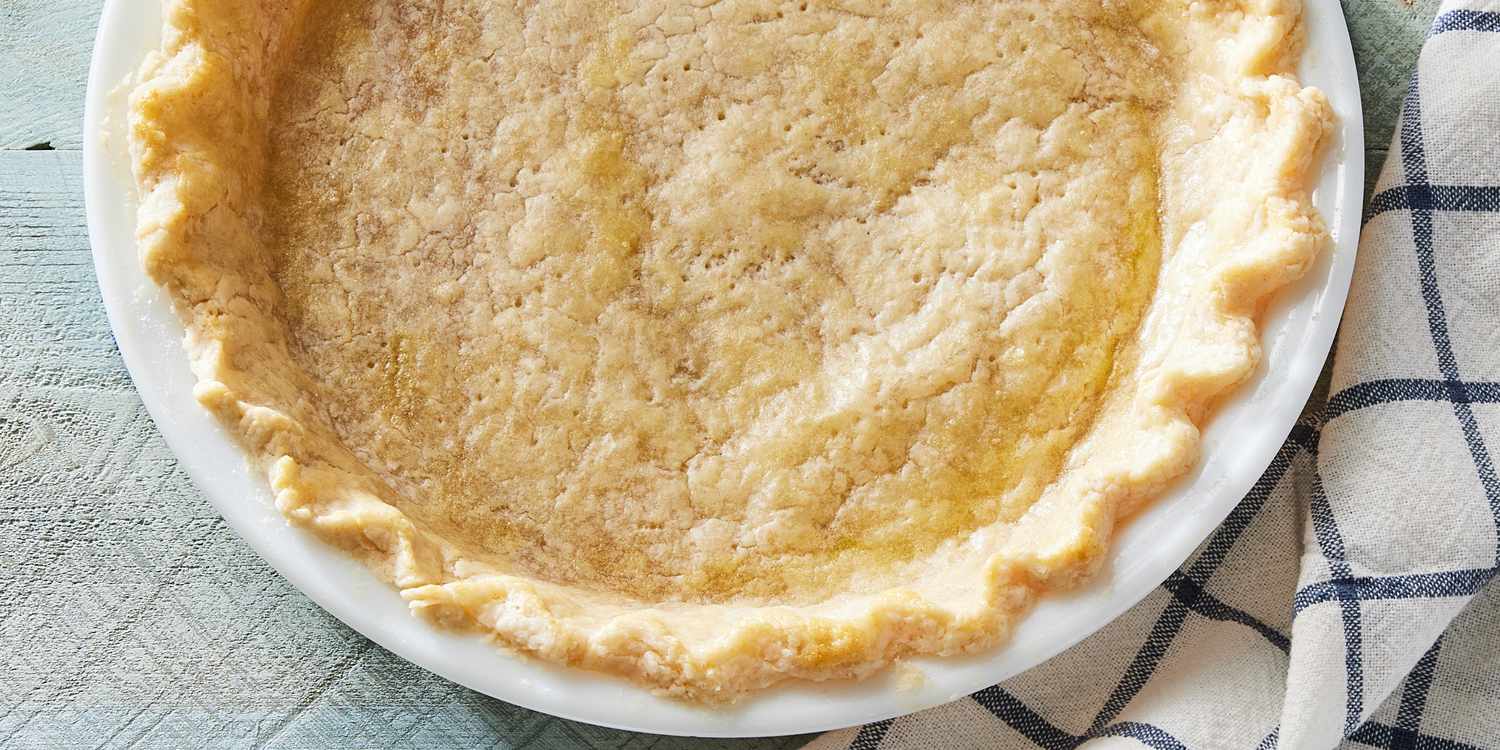
Imagine biting into a warm slice of apple pie, where the crisp, golden crust shatters gently before giving way to the tender fruit filling. That melt-in-your-mouth sensation and the rich, authentic buttery taste are the hallmarks of a truly homemade pie. You control the ingredients, opting for natural goodness over artificial flavors or preservatives. This makes not only for a superior taste experience but also a more wholesome treat. The satisfaction of pulling a pie with a beautiful, golden, fluted rim from your own oven is a reward in itself – a testament to the fact that delicious, from-scratch baking is surprisingly achievable.
The Essential Ingredients for a Perfect Pie Crust
Creating an extraordinary
flaky pie crust doesn't require a long list of exotic components. In fact, its beauty lies in the simplicity of its core ingredients. Just four pantry staples are needed to lay the foundation for your next masterpiece:
- All-Purpose Flour: This forms the structure of your crust. While there are many types of flour, all-purpose provides the right balance for a tender yet sturdy pie shell.
- Cold Butter: This is the star of our show, and the secret to an incredibly rich and flaky result. Real butter imparts an unmistakable flavor and, crucially, contributes to the crust's distinctive layers. When butter melts during baking, it releases steam and creates air pockets, which expand to form those beautiful, delicate flakes. Make sure your butter is *ice cold* and cut into small pieces.
- Salt: A pinch of salt might seem minor, but it plays a vital role in enhancing the overall flavor of your crust, balancing the richness of the butter, and contributing to its tenderness.
- Ice-Cold Water: Water binds the dry ingredients together, forming a cohesive dough. Just like the butter, keeping the water as cold as possible is paramount. Cold water helps keep the butter solid until it hits the oven, preventing it from melting prematurely and ensuring those desired flaky layers develop. It also helps control gluten development, preventing a tough crust.
These simple ingredients, when handled correctly, combine to create an unbeatable foundation for any pie, whether sweet or savory.
Mastering the Flaky Texture: Tips and Techniques
Achieving a consistently flaky
homemade pie crust comes down to a few key principles. Understanding these will elevate your baking from good to truly exceptional.
- Keep Everything COLD: This is arguably the most critical rule. Cold butter creates steam pockets as it melts, which separates the dough into layers. If your butter is too warm, it will melt into the flour, resulting in a dense, tough crust instead of a flaky one. Use ice-cold butter, ice-cold water, and even chill your mixing bowl and flour if your kitchen is warm. Some seasoned bakers even suggest working with cold hands!
- Don't Overwork the Dough: When mixing, your goal is to incorporate the butter into the flour until it resembles coarse crumbs with some pea-sized pieces of butter still visible. Overworking the dough develops gluten, which leads to a tough, chewy crust. Whether you use a food processor, a pastry blender, or your fingertips, work quickly and gently.
- Add Water Gradually: Start with the minimum amount of ice water specified in your chosen pie crust recipe and add more a tablespoon at a time until the dough just comes together. It should be moist enough to hold its shape when squeezed but not sticky or wet. Too much water also contributes to toughness.
- Chill the Dough: Once your dough comes together, gently form it into a disk (or two, if making a double crust) and wrap it tightly in plastic wrap. Refrigerate for at least 30 minutes, or up to 2 days. Chilling allows the gluten to relax, making the dough easier to roll, and re-solidifies the butter, further ensuring flakiness.
- Roll Evenly and Gently: When rolling out your chilled dough, use a lightly floured surface and rolling pin. Start from the center and roll outwards, rotating the dough frequently to prevent sticking and ensure even thickness. Avoid stretching the dough, as this can cause it to shrink back significantly during baking. For those specifically aiming for the perfect all-butter experience, you might find more specialized guidance in resources like Master the Flaky All-Butter Pie Crust: A Tender Guide.
By adhering to these simple yet crucial techniques, you'll consistently produce a tender, golden, and magnificently flaky crust.
Beyond the Basics: Blind Baking and Versatility
Once you've mastered the basic
pie crust recipe, you'll discover its incredible versatility. This easy flaky pie crust is perfect for virtually any pie you can imagine, from sweet fruit fillings to savory quiches and pot pies.
One technique that often accompanies pie baking is "blind baking" or "pre-baking" the crust. This step involves baking the pie crust before adding the filling. It's essential for several types of pies:
- For Custard or Wet Fillings (Partial Blind Bake): Recipes like quiches, pumpkin pie, or lemon meringue pie often have very wet fillings that can make the bottom crust soggy if not pre-baked. For a partial blind bake, line your chilled crust with parchment paper, fill it with pie weights (dried beans or rice work too), and bake at 375°F (190°C) for about 12 minutes. Remove the weights and parchment, then continue baking until the bottom is lightly golden, another 5-7 minutes. This sets the crust without fully cooking it, allowing it to absorb some moisture from the filling without becoming soggy.
- For No-Bake Fillings (Full Blind Bake): If your pie filling requires no baking (e.g., chocolate cream pie, fresh fruit tarts), you'll need a fully baked crust. Follow the partial blind bake steps, but after removing the weights and parchment, continue baking until the crust is fully golden brown, approximately 8-10 minutes more.
This flexible dough is also excellent for decorative purposes. From simple fluted edges to intricate lattice tops, its forgiving nature makes it ideal for adding a beautiful finish to your pies. While this recipe focuses on an all-butter crust, some bakers prefer a blend of butter and shortening for even greater tenderness and ease of handling, especially straight from the fridge. If you're curious about exploring that option,
Butter & Shortening Pie Crust: The Best of Both Worlds offers valuable insights.
Troubleshooting Common Pie Crust Issues
Even with the best intentions, baking can sometimes present challenges. Here are a few common issues you might encounter with your
easy flaky pie crust and how to address them:
- Tough Crust: This is almost always a sign of overworking the dough, which develops too much gluten. Remember to handle the dough gently and as little as possible. Too much water can also contribute to a tough texture.
- Crumbly Dough: If your dough won't come together or crumbles excessively when rolling, it likely needs more moisture. Add ice water a teaspoon at a time until it's pliable. Alternatively, your butter pieces might be too large, preventing proper binding.
- Shrinking Crust: A crust that shrinks dramatically in the oven is often a result of being overworked, not chilled sufficiently, or stretched too tightly into the pie plate. Ensure adequate chilling time and gently ease the dough into the pan without stretching.
- Soggy Bottom: If your pie's bottom crust isn't crisp, it's usually due to inadequate blind baking or a very wet filling that wasn't properly drained or thickened. Always follow blind baking instructions for wet fillings.
Conclusion
Crafting a beautiful, flaky pie crust from scratch is one of the most rewarding endeavors in home baking. This easy
pie crust recipe, built on the simple foundation of cold butter, flour, salt, and water, proves that achieving bakery-quality results is well within reach for any home baker. By embracing the simple techniques of keeping ingredients cold, avoiding overworking, and chilling your dough, you'll be able to create a tender, buttery base for any pie filling your heart desires. So, ditch the store-bought crusts, grab your ingredients, and embark on a delicious journey that promises to elevate your homemade pies to legendary status. Your taste buds—and your loved ones—will thank you!